15 How to Get Rid of Frizzy Hair Fast and Easy
Frizz can steal the polished look you wanted in minutes—but smoother, more manageable hair is often closer than it seems. If you’re wondering how to get rid of frizzy hair without turning your routine into a shelf full of products, this guide is for you.
We’ve gathered practical hair-care approaches that focus on moisture, gentle handling, protection, and smarter daily habits. From wash-day adjustments and overnight protection to humidity control and finishing techniques, each idea is designed to make real-life hair easier to manage. You’ll learn how to reduce roughness, control flyaways, protect delicate lengths, and bring out natural shine without fighting your texture. I’ve noticed that the biggest improvements often come from small changes repeated consistently. Explore the ideas, choose what suits your hair, and build a routine that feels simple enough to actually keep.
Moisture Reset Ritual
- Restores moisture to dry, rough-looking lengths.
- Helps the surface appear smoother and more polished.
- Conditioner can improve slip during gentle detangling.
- Best for dry, coarse, wavy, or heat-stressed hair.
- Keeps the routine simple enough for regular wash days.
- Works well before air-drying or heat styling.
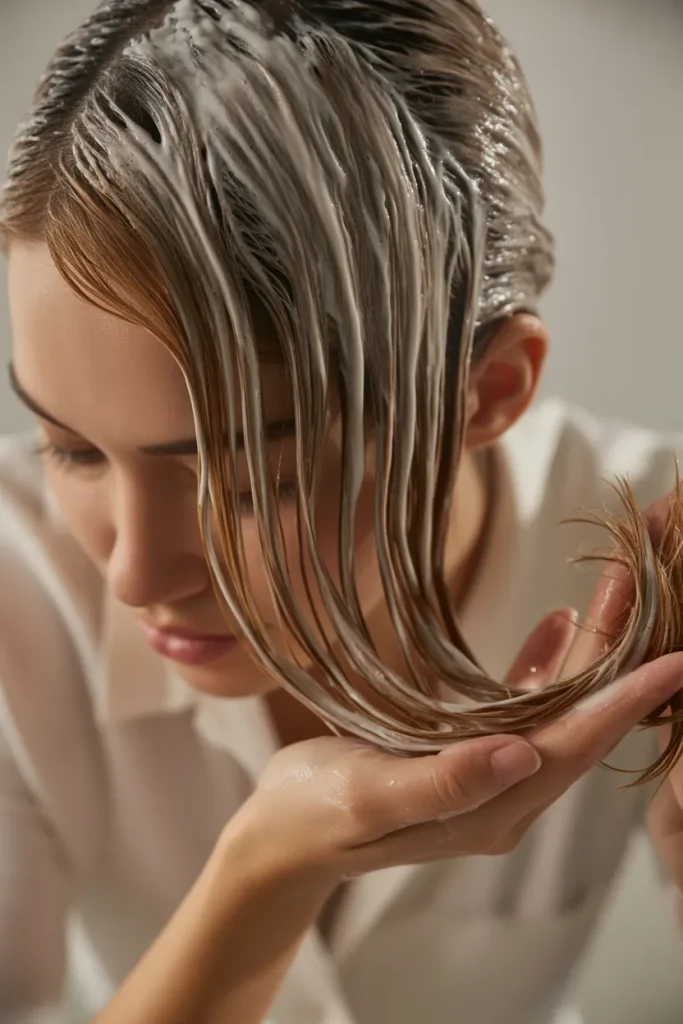
Frizz looks stubborn, but the right washing routine can make hair feel smoother before any styling begins. Choose a gentle cleanser that removes buildup without leaving the lengths squeaky or tight. Concentrate shampoo near the scalp, then let the lather travel downward while rinsing. Follow with conditioner through the mid-lengths and ends, giving dry areas extra attention. I’ve noticed that squeezing water out before conditioning helps the product spread more evenly. Rinse with cool-to-lukewarm water, then blot gently with a soft towel. This simple sequence supports smoother strands, less roughness, and easier styling throughout the rest of your routine.
A calm wash day creates a better foundation for managing flyaways later. Avoid piling the hair onto your head while shampooing, because unnecessary friction can encourage tangling and surface roughness. Instead, massage the scalp with fingertips and keep the lengths relaxed. For thicker or curlier hair, divide conditioner across several sections so every area receives enough slip. Leave it on briefly according to the product directions, then detangle gently from the ends upward. If your roots become oily quickly, keep richer products away from the scalp. Consistency matters more than using many products, and a simple routine is easier to maintain regularly.
Satin Sleep Shield

- Reduces overnight friction against rough fabric.
- Helps preserve moisture and surface smoothness.
- Particularly useful for curly, coily, and wavy textures.
- A loose wrap prevents unnecessary compression.
- Satin pillowcases offer a backup when bonnets feel uncomfortable.
- Useful for extending a polished look between wash days.
Wake up with calmer-looking hair by changing what happens while you sleep. Cotton bedding can create repeated friction as you turn, which may leave already-dry strands looking puffier by morning. A satin bonnet or smooth satin pillowcase creates a gentler surface for the hair to move against overnight. Before bed, make sure the hair is completely dry and loosely gather longer lengths rather than tying them tightly. In my experience, avoiding tension is just as important as choosing smooth fabric. This small nighttime adjustment can help preserve softness, reduce unnecessary tangling, and make the next morning’s refresh noticeably easier.
Your sleeping setup can also be adapted to your hair texture and length. Loose curls may benefit from gently gathering the hair high on the head with a soft scrunchie, while straighter hair may simply need a loose wrap or smooth pillowcase. Avoid sleeping with wet hair whenever possible because damp strands are more vulnerable to stretching and mechanical stress. Keep the bonnet comfortably fitted rather than tight around the hairline. Wash the covering regularly so product residue and oils do not accumulate. The goal is not perfect hair overnight; it is reducing avoidable friction so your morning routine starts with a smoother, more manageable foundation.
Cool Rinse Finish
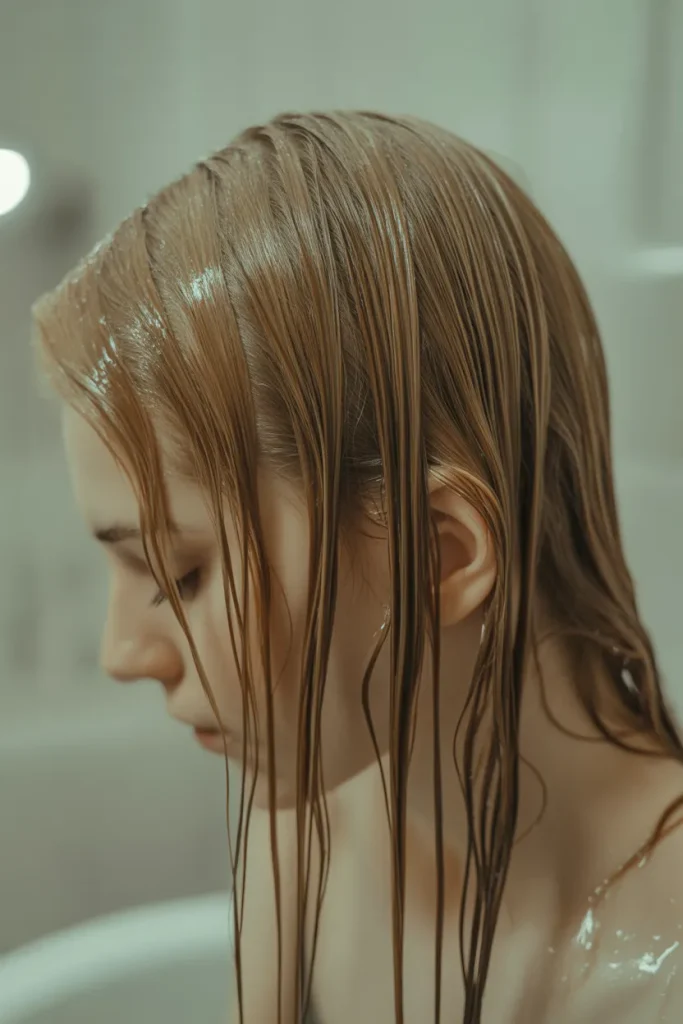
- Provides a refreshing final step after conditioning.
- Helps hair feel less overheated after a warm shower.
- Keeps the wash routine quick and uncomplicated.
- Works well with straight, wavy, and curly textures.
- Particularly useful after a moisturizing conditioner.
- Pairs easily with leave-in products and air-drying.
A cooler final rinse can make the end of wash day feel cleaner and more controlled. After thoroughly removing conditioner, gradually lower the water temperature to a comfortable cool level rather than using an extreme temperature. Let the water flow down the lengths without rough handling or repeated scrubbing. This step does not magically repair damaged hair, but it can complement a gentle routine by reducing the temptation to overwork the strands. When hair is already prone to puffiness, minimizing friction during the final rinse is especially helpful. Finish by squeezing excess water downward with your hands instead of twisting the lengths.
The bigger benefit comes from the technique surrounding the rinse. Hair that is repeatedly rubbed, wrung, or aggressively brushed can look rough regardless of water temperature. Keep the final step gentle, then move directly into drying and conditioning protection. If your hair feels dry afterward, the issue may be insufficient conditioning rather than the rinse itself. I’ve seen smoother results when people focus on the complete routine instead of treating one step as a miracle solution. Think of cool water as a finishing habit that supports careful handling, not a replacement for moisture, protection, or appropriate products.
Microfiber Wrap Method

- Limits rough towel friction after washing.
- Absorbs excess water without aggressive rubbing.
- Helps reduce unnecessary stretching and tangling.
- Useful for thick, curly, wavy, and long hair.
- Leaves strands damp enough for leave-in application.
- Makes air-drying easier to control.
The way you dry freshly washed hair can dramatically affect its finished texture. Instead of rubbing with a traditional towel, gently press a microfiber wrap around the lengths to absorb excess water. Keep the movement minimal and avoid twisting the hair tightly inside the fabric. Once the dripping stops, unwrap it and apply your leave-in product while the strands remain damp. This approach is especially useful for people who notice their hair becoming fuzzy immediately after washing. A softer drying method does not eliminate natural texture, but it can prevent avoidable friction from adding extra roughness before your styling routine even starts.
A microfiber wrap is most effective when used briefly rather than left on for a long period. Heavy wet hair becomes more difficult to manage as it sits compressed, so remove the wrap when the excess water has been absorbed. Then separate the hair gently with your fingers or a wide-tooth comb if needed. For curls, scrunching with the fabric can encourage definition without rough towel rubbing. For straighter textures, pressing downward can help keep the surface orderly. Choose a clean wrap and wash it regularly. Small changes in drying technique often make a bigger practical difference than adding another styling product.
Leave-In Smoothing Veil
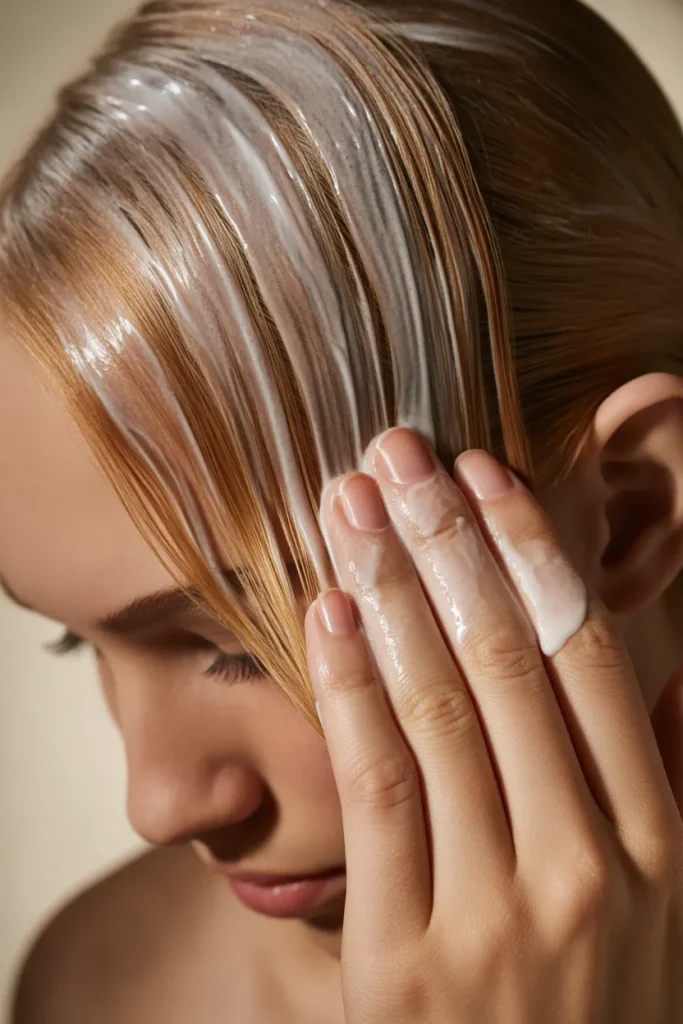
- Adds lightweight softness to damp lengths.
- Helps reduce the dry feeling that encourages puffiness.
- Makes detangling easier when applied evenly.
- Ideal for medium, thick, wavy, or porous hair.
- Use a small amount first to avoid heaviness.
- Supports smoother results before blow-drying or air-drying.
The fastest-looking improvement often starts with applying the right amount of leave-in product to damp hair. Begin with a small quantity and warm it between your palms before smoothing it from mid-lengths toward the ends. Keep heavier creams away from the roots unless your hair is exceptionally dry there. Flat palms help distribute product across the surface without creating unnecessary disturbance. If your strands absorb products quickly, you may need a little more, but build gradually. I’ve noticed that applying less product first usually gives better control than coating the hair heavily. The goal is flexible softness, not a greasy or weighed-down finish.
Your hair’s density and porosity should guide how much leave-in treatment you use. Fine hair usually needs a lighter lotion or spray, while thick, textured hair may prefer a richer cream. Apply it in sections when your hair is dense so the product reaches hidden layers instead of sitting only on top. After application, allow the hair to settle before brushing repeatedly. If you plan to use heat, check whether your leave-in also provides heat protection; otherwise, use a separate protective product. This step can simplify your routine because hydrated, conditioned strands generally become easier to detangle, shape, and finish neatly.
Aloe Slip Treatment
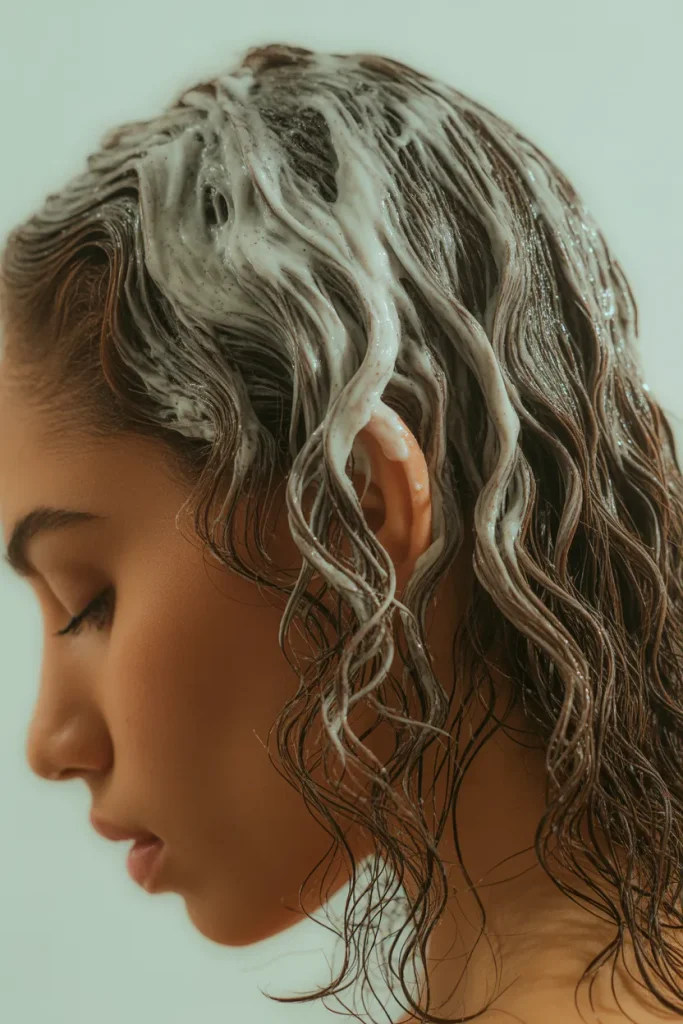
- Gives dry strands a softer, conditioned feel.
- Adds slip for easier gentle detangling.
- Lightweight formulas can suit hair prone to buildup.
- Useful between heavier deep-conditioning sessions.
- Works well before defining natural waves or curls.
- Rinse thoroughly according to product directions.
A lightweight conditioning treatment can be useful when hair feels dry but heavy masks leave it flat. Aloe-based formulas are popular because they can provide a fresh, slippery feel without requiring a thick coating. Apply the treatment according to its instructions, concentrating on areas that feel rough or tangle easily. Use fingers to distribute it through small sections rather than combing aggressively. Let the product sit for the recommended time, then rinse thoroughly. The practical aim is better softness and manageability. When hair moves more easily between your fingers, you can reduce the brushing and pulling that often make a frizzy finish worse.
Not every aloe product is equally lightweight, so check the full formula and your own response. If your hair becomes coated or dull after repeated use, alternate the treatment with a simpler conditioner. Curly and wavy textures can benefit from maintaining enough moisture to support definition, while fine hair may need less product overall. I prefer treating this kind of mask as a targeted reset rather than something required every wash day. Pay attention to how your ends feel after rinsing and drying. If they remain rough, adjust the amount or frequency instead of automatically layering additional products over them.
Bond Care Routine
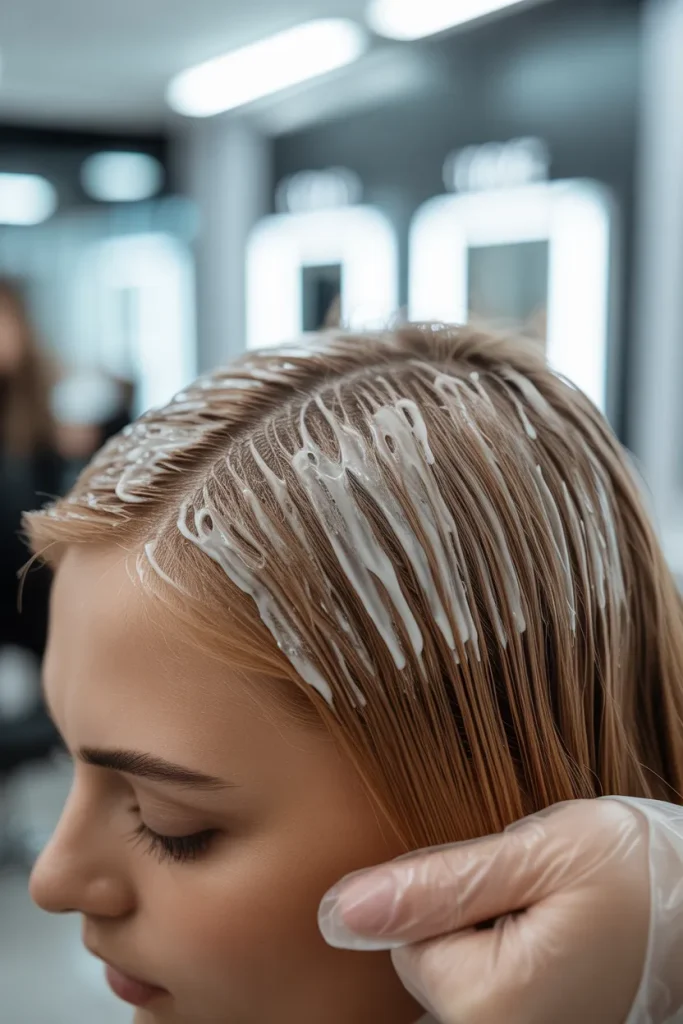
- Supports routines for hair exposed to repeated chemical services.
- Useful for color-treated or frequently heat-styled lengths.
- Helps make fragile-feeling hair easier to manage.
- Follow the specific product directions carefully.
- Avoid assuming every repair product works identically.
- Pair treatment with gentler brushing and drying habits.
Hair that has been repeatedly colored, lightened, or heat-styled may need more thoughtful care than simply adding a smoothing serum. Bond-focused treatments are designed for damaged-feeling hair and can become useful within a structured maintenance routine. Apply the product exactly as directed, especially when timing and rinsing requirements differ between formulas. Focus attention on the lengths rather than automatically applying everything to the scalp. When hair feels stronger and more conditioned, everyday handling can become easier. In my experience, the best results come from combining treatment days with gentler washing, careful drying, and reduced unnecessary heat rather than relying on one product.
A bond-care routine should complement, not replace, basic moisture and protection. If the hair has significant breakage, reduce aggressive brushing and reconsider how often high heat or chemical processing is used. Alternate restorative products with appropriate conditioning so the hair does not become overloaded with treatments. Keep expectations realistic because damaged ends cannot be permanently restored to completely untouched hair. Regular trims may still be useful when split ends travel upward. Watch how your hair responds after several uses rather than judging one application immediately. A balanced routine can help your hair feel smoother, more flexible, and easier to handle between salon appointments.
Heat Shield Layer
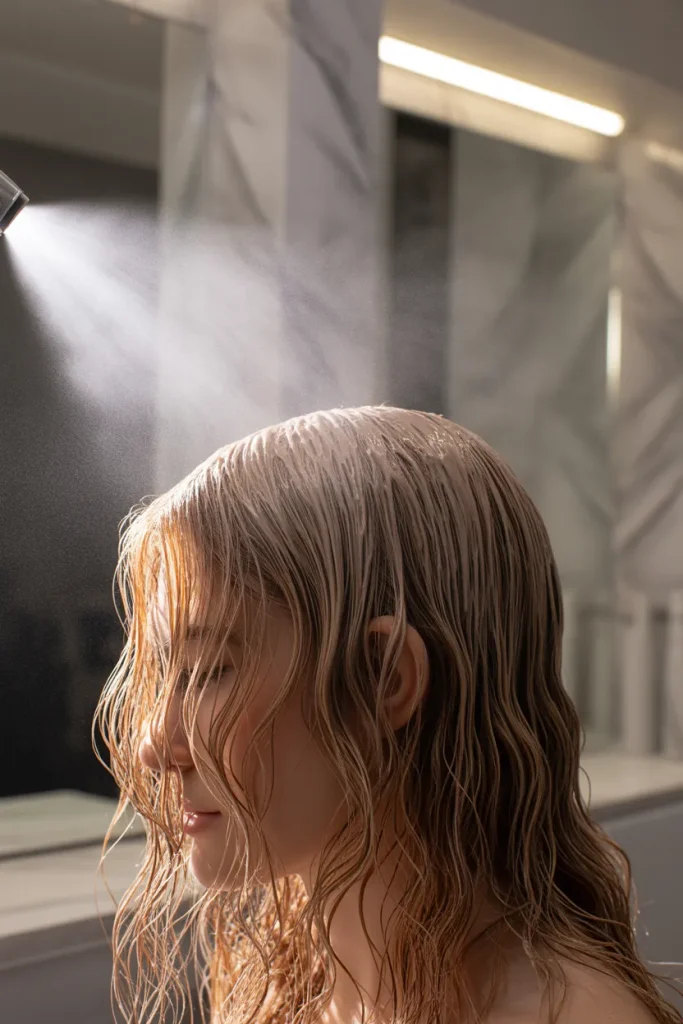
- Creates an important protective step before hot tools.
- Helps reduce unnecessary heat-related dryness.
- Works with blow-dryers, irons, and other heated tools.
- Apply evenly instead of saturating one small area.
- Follow the product’s temperature and usage directions.
- Keep the tool moving rather than holding heat in one place.
Heat styling becomes much easier to manage when protection is applied before the tool touches your hair. Start with a heat-protectant product suited to your hair type and styling method. Distribute it evenly through the lengths, paying particular attention to exposed ends. Let the product settle according to its instructions before using a dryer or heated tool. Choose the lowest temperature that effectively creates your desired result, especially if your hair is fine, bleached, or fragile. I’ve noticed that controlled heat and deliberate sections often produce a smoother finish than turning the temperature higher and rushing through the process.
Technique matters as much as the product itself. Keep a blow-dryer moving and direct airflow along the hair rather than constantly blasting from different angles. With a flat iron or similar tool, work with manageable sections and avoid repeatedly passing over the same strand. Never assume more heat equals better smoothness. If your hair needs several passes to respond, reduce the section size or improve the preparation instead. Give the lengths occasional heat-free days when practical. A protective routine is most useful when it becomes habitual, because repeated small improvements in technique can reduce unnecessary stress over time.
Rice Water Gloss
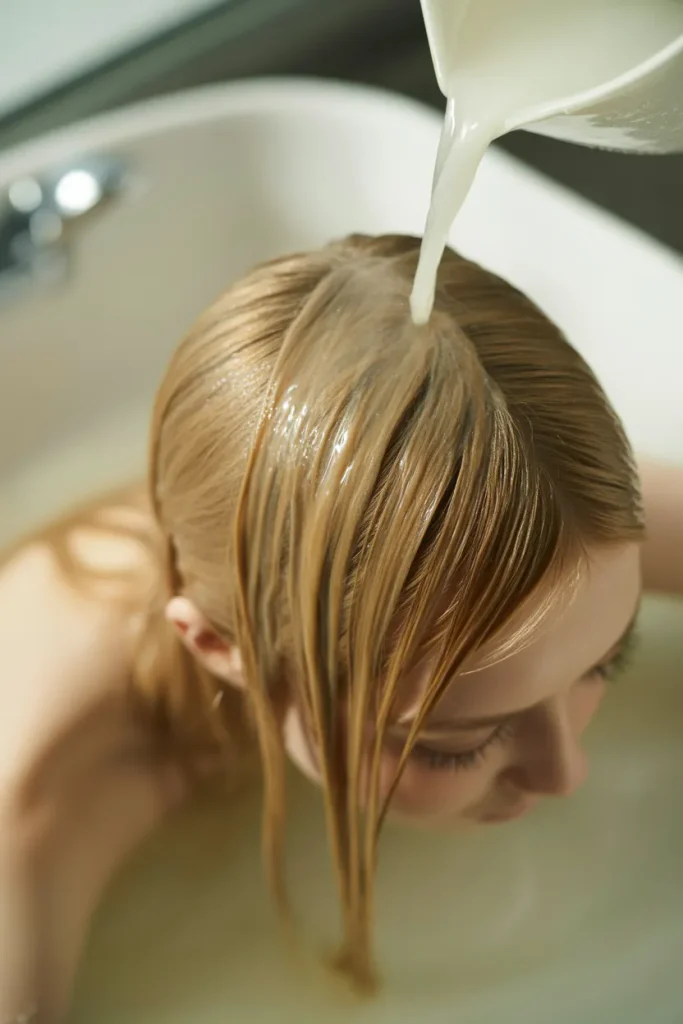
- Provides a refreshing treatment option for dull-looking lengths.
- Can be incorporated as an occasional rinse.
- Best used according to a prepared product’s directions.
- Avoid excessive frequency if hair feels stiff or dry.
- Works alongside regular conditioning rather than replacing it.
- Suitable for people who enjoy simple rinse-based routines.
A rice-water-inspired rinse can add variety to a simple hair-care routine when used thoughtfully. Prepared products are generally easier to control because their formulas and directions are designed for cosmetic use. Apply the rinse as instructed, keeping attention on the lengths if your scalp does not need extra product. Do not assume that using more will create a better finish. After the recommended time, rinse thoroughly and follow with conditioner if the product directions allow it. Hair that already feels dry or stiff may need more moisture-focused care instead. The best routine is the one that leaves your strands comfortable, flexible, and manageable.
Pay attention to how your hair responds after the first few uses. Some people enjoy the refreshed feel of rinse treatments, while others may find frequent strengthening-focused routines leave their hair less soft. If that happens, reduce frequency and prioritize conditioning. This approach keeps experimentation practical instead of turning every trending ingredient into a daily requirement. I’ve seen hair routines work better when one new treatment is introduced at a time, because it becomes easier to notice what actually helps. Keep your regular cleanser, conditioner, gentle drying method, and heat protection consistent while testing occasional additions.
Scalp Balance Wash
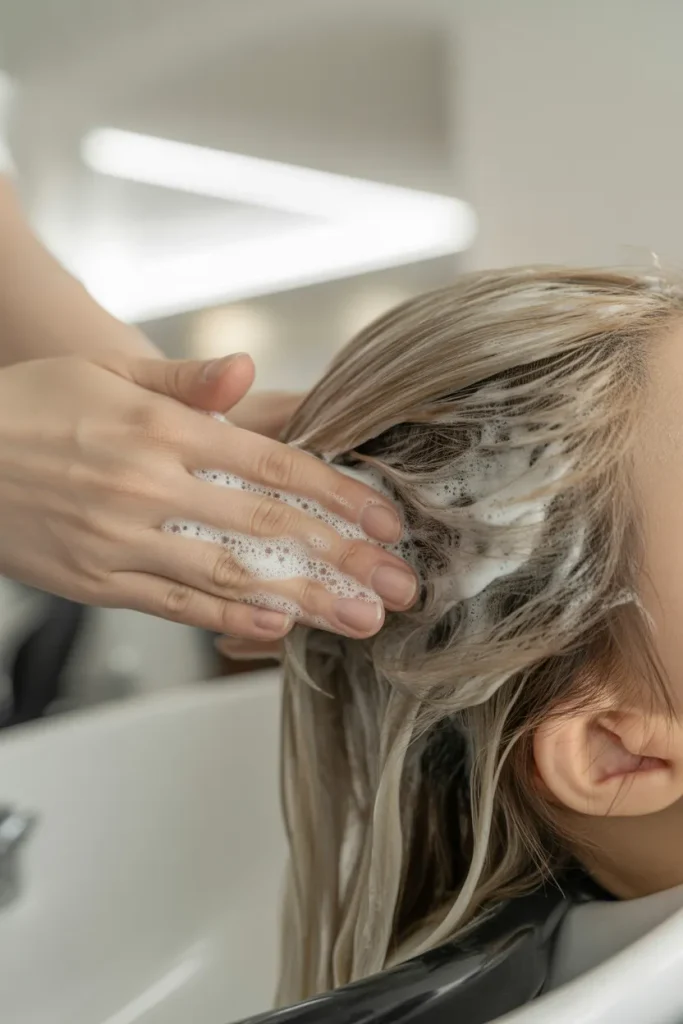
- Keeps cleansing focused where oil and buildup originate.
- Prevents heavy styling residue from sitting unnecessarily.
- Useful for people using multiple creams or serums.
- Avoids rough scrubbing through fragile lengths.
- Can help hair feel fresher between conditioning steps.
- Adjust frequency according to scalp oiliness and product use.
A balanced scalp routine can improve how the rest of your hair behaves. Shampoo should primarily clean the scalp, where oil, sweat, and product residue tend to collect. Use your fingertips rather than fingernails and massage gently without creating excessive friction. Allow the cleanser to move through the lengths as you rinse instead of aggressively scrubbing them. This distinction is especially useful when the ends are dry but the roots become oily quickly. After cleansing, return moisture to the lengths with conditioner. Separating scalp cleansing from length conditioning keeps each part of the routine focused on what it actually needs.
Your ideal washing frequency depends on your scalp, lifestyle, texture, and styling habits. Someone who exercises frequently or uses substantial styling products may need more regular cleansing than someone with a dry scalp and minimal product use. If the hair feels coated, limp, or difficult to style, buildup may be worth considering. If the scalp feels tight after every wash, the cleanser or frequency may be too aggressive. Avoid scratching or scrubbing hard in an attempt to feel extra clean. A comfortable scalp and conditioned lengths create a practical foundation for smoother-looking hair without complicating the routine unnecessarily.
Argan Oil Polish
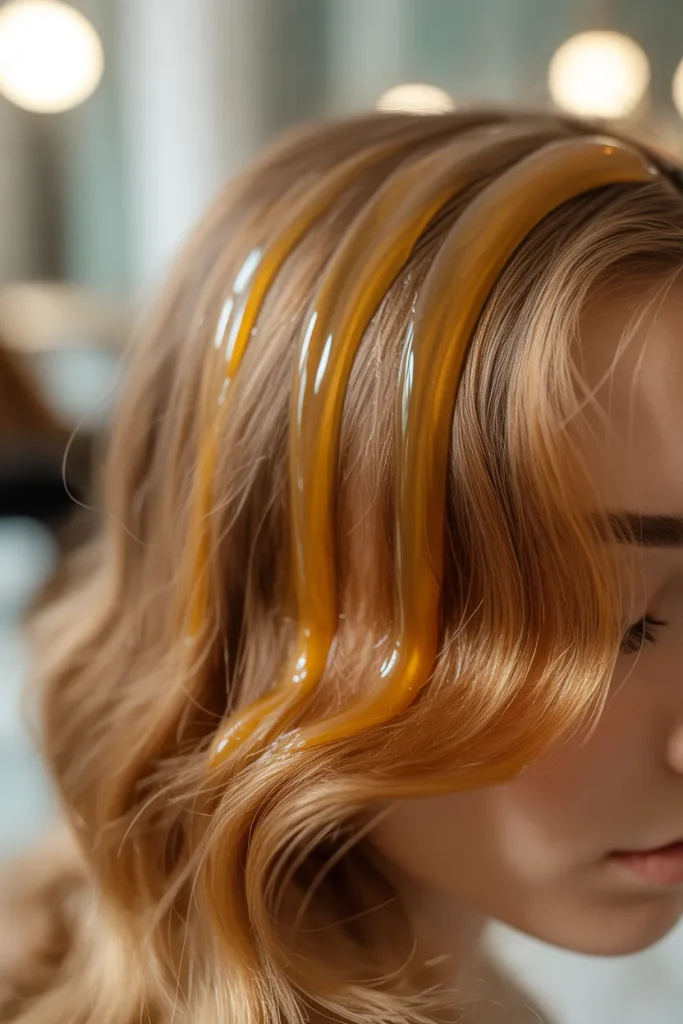
- Adds a polished finish to dry-looking ends.
- Works best in very small amounts.
- Helps tame isolated flyaways without reshaping the hair.
- Especially useful for medium-to-thick or dry textures.
- Can refresh hair before an event or evening out.
- Keep oil away from roots if they become greasy easily.
A small amount of lightweight oil can instantly make dry-looking ends appear more polished. Warm one or two drops between your palms, then lightly skim your hands over the mid-lengths and ends. Avoid coating the hair heavily because excess oil can make strands look flat rather than smooth. This finishing step works particularly well after the main drying routine is complete. If you notice a few stubborn flyaways, use whatever remains on your palms instead of adding another full drop. The goal is controlled shine and softness. Used carefully, an oil finish can make everyday hair look more intentional.
Oil works differently from a water-based moisturizer, so it is best treated as a finishing layer rather than the only answer for dryness. If your hair feels genuinely dehydrated, address cleansing, conditioning, and leave-in care first. Fine strands may need only the tiniest touch, while coarse ends can often tolerate slightly more. Avoid applying large amounts directly to the scalp unless the product is specifically intended for that area. For special occasions, add the finishing oil shortly before leaving home so the surface looks polished without giving it hours to become greasy. Subtle application usually creates the most natural result.
Humidity Defense Mist
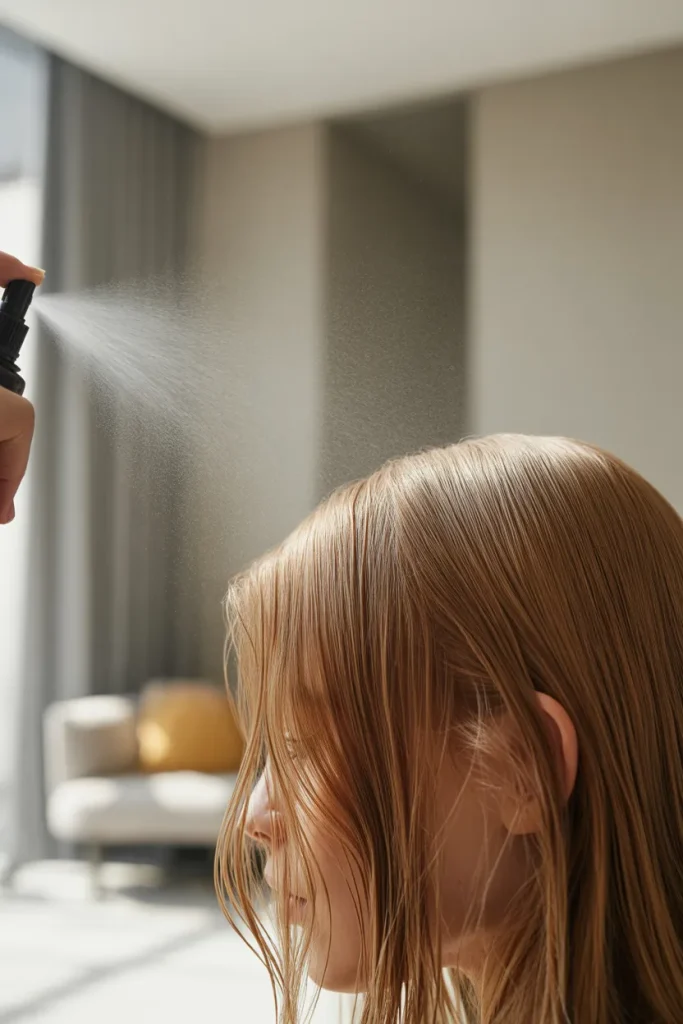
- Helps protect a polished finish in damp weather.
- Useful for humid summers and rainy days.
- Lightweight sprays suit hair that dislikes heavy creams.
- Apply evenly from an appropriate distance.
- Works well as a final finishing step.
- Reapply only when the product instructions recommend it.
Humidity can turn a carefully finished head of hair into a cloud of flyaways surprisingly quickly. A lightweight anti-humidity mist can provide a useful final layer when the weather is damp. Choose a formula compatible with your texture and spray it evenly rather than concentrating product in one spot. Keep the bottle at the recommended distance and allow the mist to settle before touching the hair. This step is especially practical before commuting, outdoor events, or long days in warm weather. It will not stop natural texture from appearing, but it can help your finished surface stay more controlled.
Preparation still matters when humidity is high. Hair that begins the day extremely dry may react more dramatically to moisture in the air, so maintain conditioning throughout the week rather than relying only on finishing spray. If you have curls or waves, choose products that preserve movement instead of forcing the hair completely flat. For straight hair, a light mist can help maintain a cleaner silhouette. Carrying a small amount for touch-ups can be convenient, but avoid repeatedly layering products until the hair feels coated. The best humidity strategy combines hydration, suitable styling products, and realistic expectations about natural texture.
Silk Press Prep
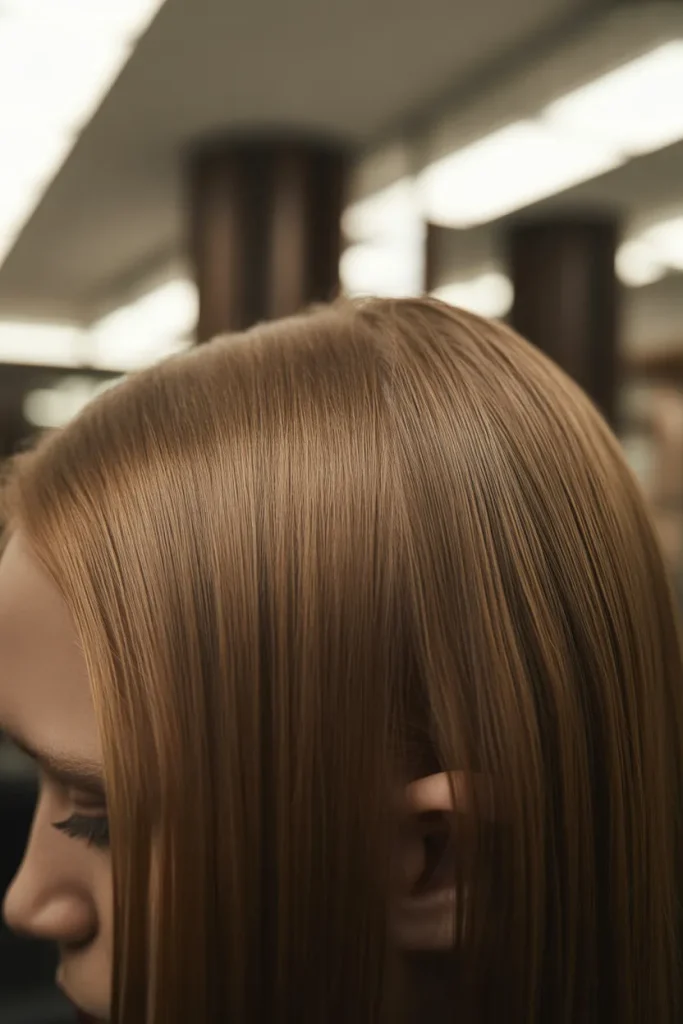
- Creates a smoother foundation for sleek heat styling.
- Requires thorough cleansing and conditioning beforehand.
- Heat protection should be applied before hot tools.
- Smaller sections improve control during blow-drying.
- Best suited to people comfortable with salon-style heat routines.
- Maintain the finish by minimizing unnecessary moisture afterward.
A sleek heat-styled finish starts long before the flat iron appears. Begin with clean, well-conditioned hair and remove excess water gently before applying a suitable heat protectant. Blow-dry in controlled sections, directing airflow downward along the strand while keeping the nozzle moving. Use a brush that gives you enough tension without pulling aggressively. Once the hair is fully dry, use a heated tool only if needed, choosing a temperature appropriate for your texture and condition. In my experience, patient preparation creates a smoother result than trying to force damp, tangled hair into a sleek finish with excessive heat.
Maintaining a polished heat-styled finish requires protecting it afterward. Avoid unnecessary brushing, moisture exposure, or repeated hot-tool passes when the hair already looks smooth. At night, reduce friction with a satin covering or smooth pillowcase and loosely secure longer lengths if appropriate. If humidity is expected, a compatible finishing product can help preserve the surface. Remember that this routine is more demanding for fragile or heavily processed hair, so give those strands regular conditioning and heat-free breaks. A sleek finish should look healthy and flexible, not stiff or overly coated. Adjust the process whenever your hair signals that it needs gentler care.
Curl Cream Revival
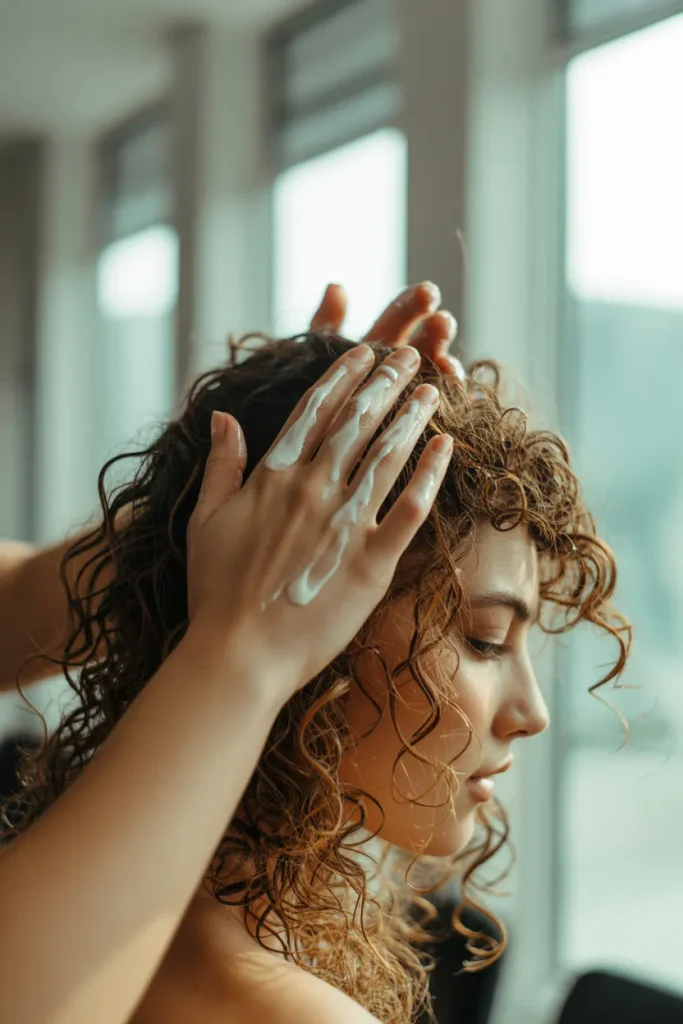
- Revives curl pattern without requiring a complete wash.
- Adds definition to sections that have lost shape.
- Works best when hair still has some moisture.
- Scrunching can encourage natural movement.
- Lightweight formulas suit finer curls.
- Richer creams may suit dense, coarse textures.
Refreshing curls does not always require starting the entire wash routine again. Lightly mist the hair with water, then apply a small amount of curl cream to areas that look dry or undefined. Work the product through with your fingers before gently scrunching upward. Focus on individual sections rather than covering the entire head with a large amount of product. This method can restore shape while adding softness and reducing the fuzzy appearance that often develops overnight. I’ve noticed that reintroducing a little moisture before product makes refreshing easier because the cream distributes more evenly and the curls regain movement without becoming overly coated.
The key to a successful refresh is restraint. If the hair already contains several layers of styling product, adding more cream can make it feel heavy or sticky. Start with water alone, then introduce a tiny amount of product where needed. Let curls air-dry without repeatedly touching them, or use a diffuser on a gentle setting if appropriate. Different curl patterns respond differently, so experiment with section size and product quantity. Protect the refreshed shape overnight with a smooth fabric covering when possible. A targeted refresh saves time and keeps natural texture looking intentional between full wash days.
Overnight Braid Care
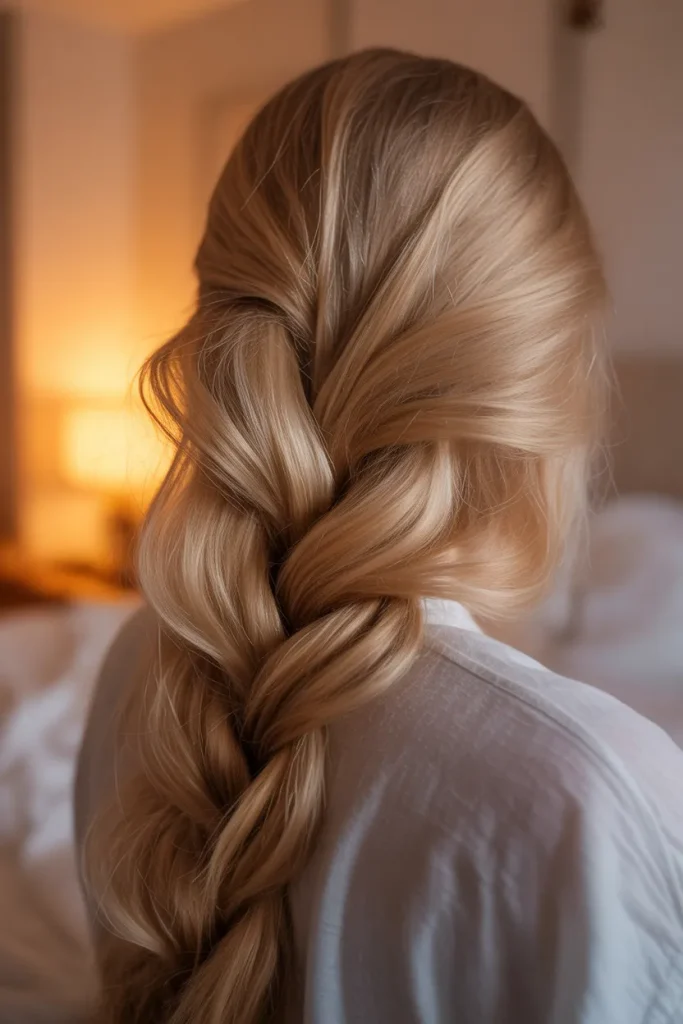
- Reduces loose tangling while sleeping.
- Keeps longer hair gathered without tight styling.
- Can make morning detangling easier.
- A soft scrunchie helps avoid harsh pressure points.
- Suitable for straight, wavy, and lightly textured hair.
- Avoid tight braiding when the hair is fragile or wet.
Long hair can become tangled and rough simply from moving around during sleep. A loose overnight braid gathers the lengths and limits unnecessary movement without requiring a complicated routine. Start with completely dry hair and gently detangle from the ends upward. Create a relaxed braid rather than pulling tightly at the scalp or securing the bottom with a harsh elastic. A soft scrunchie or fabric tie works better for minimizing pressure. In my experience, the difference is most noticeable in longer hair because fewer loose strands become wrapped around one another. Morning brushing can then become quicker, gentler, and less disruptive.
The braid itself should never feel painful, tight, or restrictive. If you wake with scalp tenderness or visible tension around the hairline, loosen the technique or choose a different overnight method. Very curly hair may respond better to a loose protective arrangement designed around its natural pattern rather than a conventional braid. For straight or wavy hair, a relaxed braid can also create soft movement the next morning. Pair the method with a smooth pillowcase for additional friction reduction. Most importantly, treat the braid as a protective convenience, not a requirement. Healthy hair care still depends on gentle cleansing, conditioning, and sensible handling.
Conclusion
Beautiful hair does not require a complicated routine. The right balance of moisture, gentle handling, protection, and thoughtful finishing can make strands look smoother, softer, and more polished while preserving their natural movement.
Learning how to get rid of frizzy hair is really about understanding what your hair needs and avoiding habits that create unnecessary roughness. Start with one or two changes, such as gentler drying, better conditioning, overnight protection, or humidity control, then notice how your hair responds. I’ve seen how small routine adjustments can make everyday styling feel easier and more enjoyable. Save this post to Pinterest for your next hair-care reset, try the ideas that fit your texture, and share it with someone who could use a smoother, more manageable hair day.