15 Ways How to Loosen Tight Braids Without Damage
If you’re wondering how to loosen tight braids without damaging your natural hair, you’ve come to the right place. The good news is that gentle care, thoughtful styling adjustments, and the right techniques can help make your braided hairstyle more comfortable. From warm towel treatments and lightweight moisture to relaxed ponytails and effortless half-up styles, there are several ways to improve how your braids feel and look.
Fresh installations sometimes feel particularly firm around the temples, hairline, and crown. I’ve noticed that paying attention to these areas early makes it easier to recognize when a hairstyle needs adjustment. This guide explores practical ways to manage tightness while keeping your braids looking beautiful. You’ll also discover relaxed styling inspiration that works for different braid lengths and textures. Remember, persistent pain or excessive tension needs professional attention rather than repeated home treatments.
Warm Towel Relaxation
- Uses gentle warmth to soften the hair around tight braid roots.
- Helps make the scalp area feel more comfortable.
- Requires no pulling, tugging, or aggressive manipulation.
- Works particularly well around the front hairline and temples.
- Keeps the original braid pattern intact.
- Offers a simple at-home comfort technique.
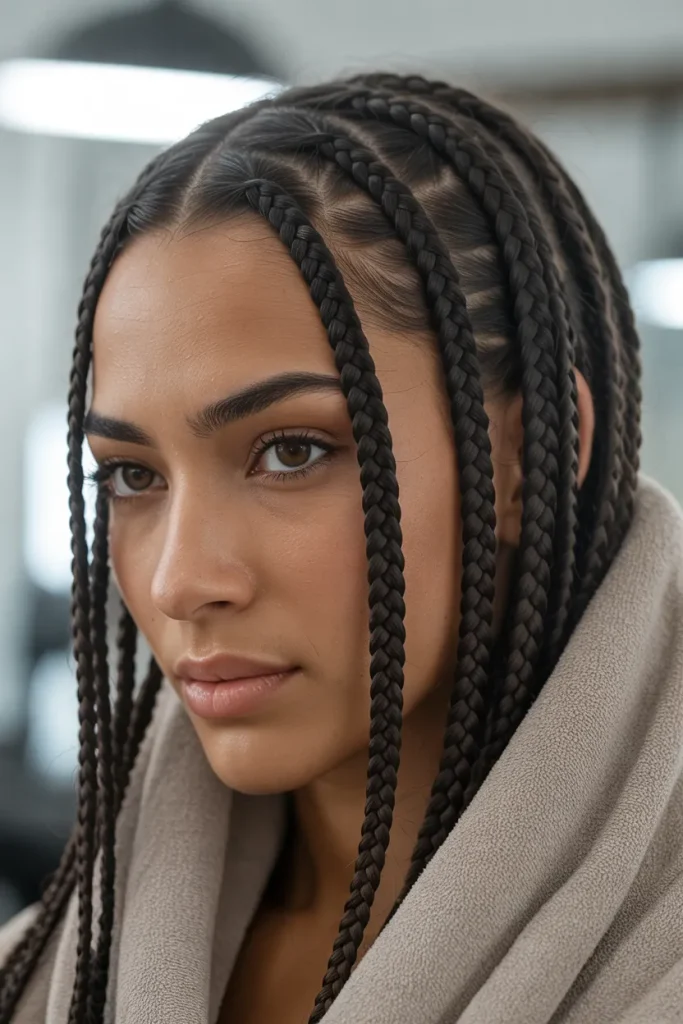
Fresh braids should look polished without making your scalp feel stretched or uncomfortable. A warm towel is a gentle starting point when the roots feel excessively firm. Soak a clean towel in comfortably warm water, squeeze out the excess, and place it around the braided hairline for several minutes. The warmth helps soften the surrounding hair and makes gentle movement easier. Avoid placing anything hot directly against your scalp. This approach works especially well around the temples, where tension can feel noticeable after installation. Keep your braids supported while treating the area, rather than pulling them downward.
For the best experience, repeat the process with short intervals instead of keeping the towel in place for too long. Once the area feels softer, use clean fingertips to check whether the roots move comfortably. Never force a braid to shift if it still feels firmly attached. I recommend paying attention to the front perimeter because these delicate areas can become uncomfortable when braids are installed too tightly. A warm towel will not correct every installation problem, but it can provide temporary comfort without disturbing the overall appearance. If pain continues, speak with your braider about safely loosening or removing the affected braids.
Lightweight Leave-In Mist
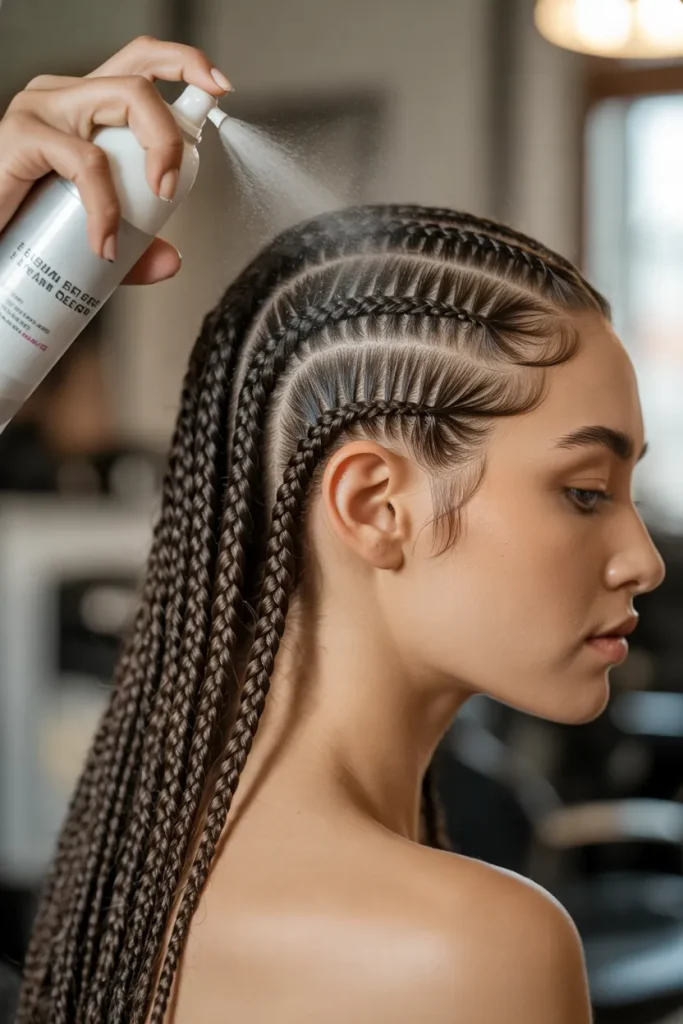
- Adds lightweight moisture around the braided roots.
- Helps soften dry hair surrounding the installation.
- Makes gentle fingertip movement more comfortable.
- Avoids the heavy residue of thick styling products.
- Particularly useful for natural hair and knotless braids.
- Suitable for refreshing the hairline without soaking the entire style.
A lightweight leave-in mist can make uncomfortable braids easier to manage without leaving the hair greasy. Choose a water-based formula designed for your hair type, then lightly mist the exposed roots and surrounding natural hair. Avoid saturating the entire installation, especially if your braids are newly installed. The goal is to add moisture, not make the style wet. Give the product a moment to settle before touching the roots. This small adjustment can help dry, tightly gathered hair feel more flexible. It also keeps your braids looking fresh while addressing the uncomfortable feeling around the scalp.
Product selection matters more than using a large quantity. Look for a lightweight formula without excessive oils or heavy buildup, particularly if your scalp becomes oily easily. Spray from a comfortable distance so the moisture distributes evenly instead of collecting in one spot. After application, gently move your fingertips over the surrounding hair without pulling individual braids. If the roots remain painful, do not keep adding product in the hope of fixing the tension. Moisture can improve dryness, but it cannot undo an excessively tight installation. Ask your stylist to assess the affected sections and adjust them safely.
Gentle Scalp Massage
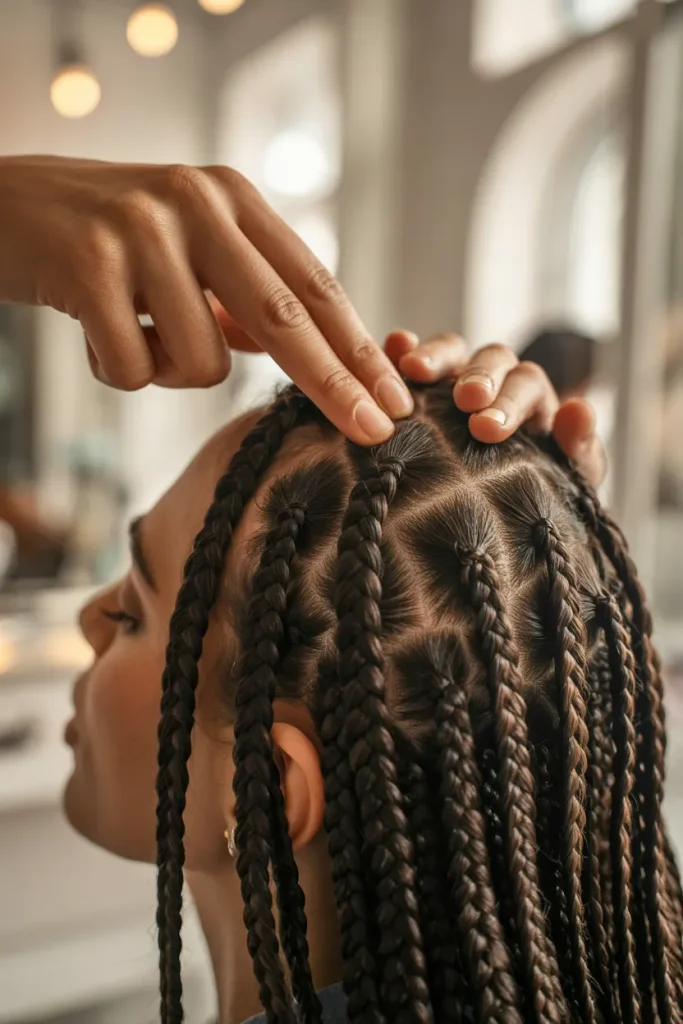
- Focuses on gentle movement rather than pulling the braids.
- Helps distribute natural scalp oils around exposed roots.
- Makes the scalp-care routine feel more relaxing.
- Works best with clean fingertips and minimal pressure.
- Can be personalized around sensitive areas.
- Avoids disturbing the braid lengths and overall silhouette.
A gentle scalp massage can make a braid installation feel more comfortable when the discomfort comes from mild tightness rather than significant pain. Start with clean hands and place your fingertips on exposed areas between the braid sections. Use tiny circular movements without gripping, twisting, or lifting the braids. The pressure should feel soothing, never painful. Pay particular attention to areas that feel dry or tense, but avoid repeatedly rubbing the same spot. This technique is about relaxing the surrounding skin and hair, not forcing tightly secured roots to move. Stop immediately if touching the scalp increases discomfort or tenderness.
Keep the massage brief and avoid using fingernails, brushes, or pointed tools. If your braids are freshly installed, give the scalp time to settle before attempting any unnecessary manipulation. I find that gentle fingertip contact is much easier to control than using a comb around closely braided roots. You can also ask your stylist to demonstrate an appropriate technique for your particular installation. Remember that massage cannot release excessive pulling caused by tight extensions. Persistent soreness, bumps, or headaches are reasons to contact your braider and consider removing the problematic sections instead of continuing home treatments.
Scalp Cooling Compress
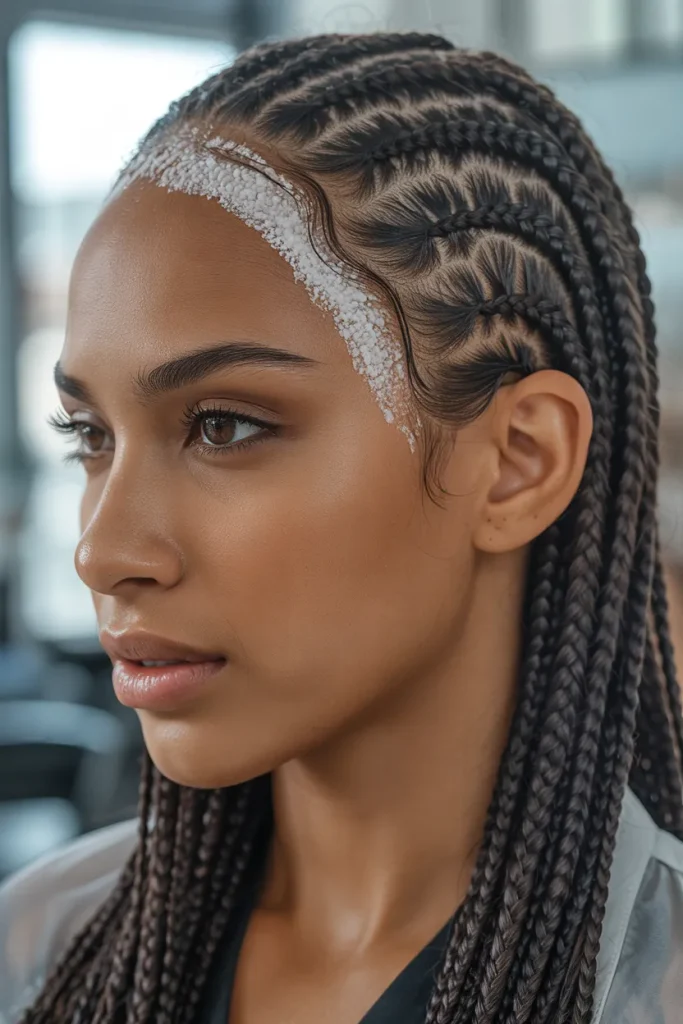
- Provides a cooling sensation around uncomfortable roots.
- Offers a simple alternative when warmth feels unpleasant.
- Keeps the braid lengths undisturbed.
- Works conveniently around the temples and forehead.
- Requires only a clean, soft cloth.
- Avoids direct ice contact with sensitive skin.
Sometimes the scalp feels uncomfortable even when the braids themselves look perfectly neat. A cool compress can provide a soothing alternative to warm treatments, particularly when the hairline feels irritated after installation. Dampen a clean, soft cloth with cool water, squeeze out excess moisture, and gently position it against the affected area. Avoid pressing the compress into the roots or placing ice directly against your skin. Keep the braids resting naturally while the cloth provides a refreshing sensation. This method is especially convenient around the forehead and temples, where closely secured sections can make everyday movement uncomfortable.
Use a fresh cloth and keep each application brief, checking how your scalp responds throughout the process. Cooling may temporarily improve comfort, but it does not physically release excessive tension in tightly secured braids. Avoid alternating extreme temperatures or repeatedly treating an area that becomes increasingly sore. If your scalp develops bumps, swelling, persistent tenderness, or a headache, contact your stylist rather than relying on compresses. A beautiful braided style should not require you to tolerate ongoing pain. When the installation is genuinely too tight, professional adjustment or removal is a more appropriate solution than repeated home treatments.
Root-Safe Finger Separation
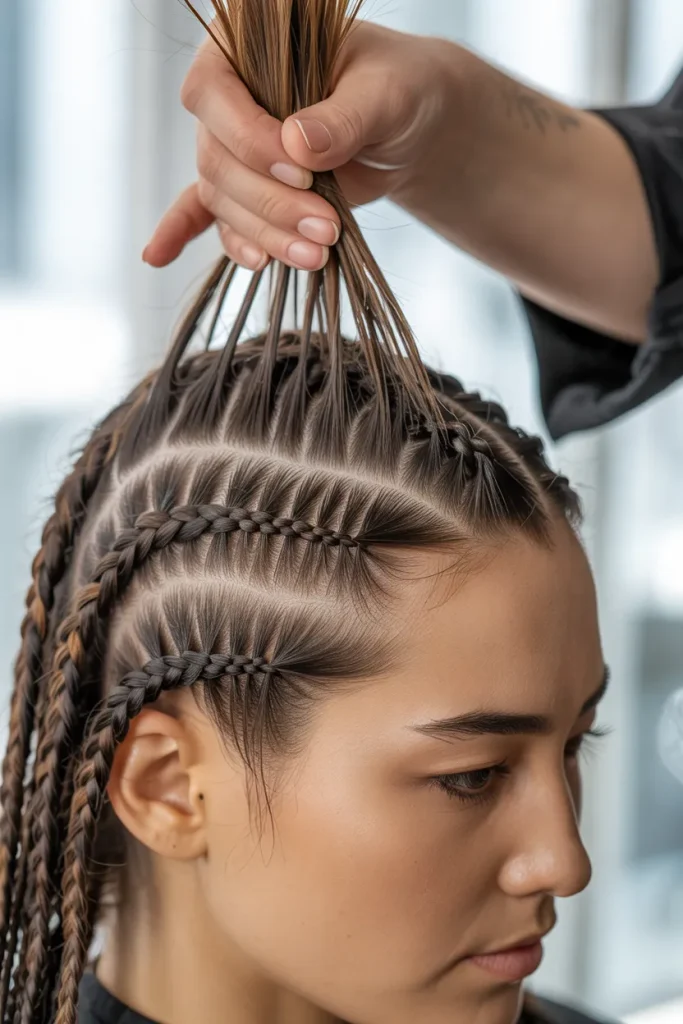
- Helps identify individual sections creating uncomfortable pressure.
- Keeps attention on the roots instead of the braid lengths.
- Avoids aggressive combing through tightly installed hair.
- Makes it easier to explain problem areas to a stylist.
- Preserves the original braided pattern when done gently.
- Best suited to accessible sections without severe tension.
When several braids sit very close together, the surrounding roots can feel crowded and uncomfortable. Gentle finger separation helps you identify which sections are creating that sensation without immediately disturbing the entire style. Begin with clean hands and examine the accessible spaces between braid bases. Use your fingertips to move only loose surrounding hair, keeping the actual braided sections supported. Do not insert your fingers underneath tightly secured roots or force neighboring braids apart. The purpose is to understand where the pressure occurs, not to stretch the installation. This careful approach is particularly useful when explaining specific problem areas during a salon adjustment.
Work slowly and stop whenever the scalp feels tender. You may discover that one section feels noticeably tighter than the others, which gives your braider useful information about where adjustment is needed. Avoid using comb tails, clips, or sharp accessories to create extra space between the roots. Those tools can scratch the scalp or pull individual hairs. If the sections cannot move naturally, leave them alone and arrange professional assistance. Finger separation is a gentle assessment technique, not a substitute for loosening a poorly installed braid. Protecting your natural hair matters much more than preserving a perfectly uniform installation.
Lightweight Braid Mousse
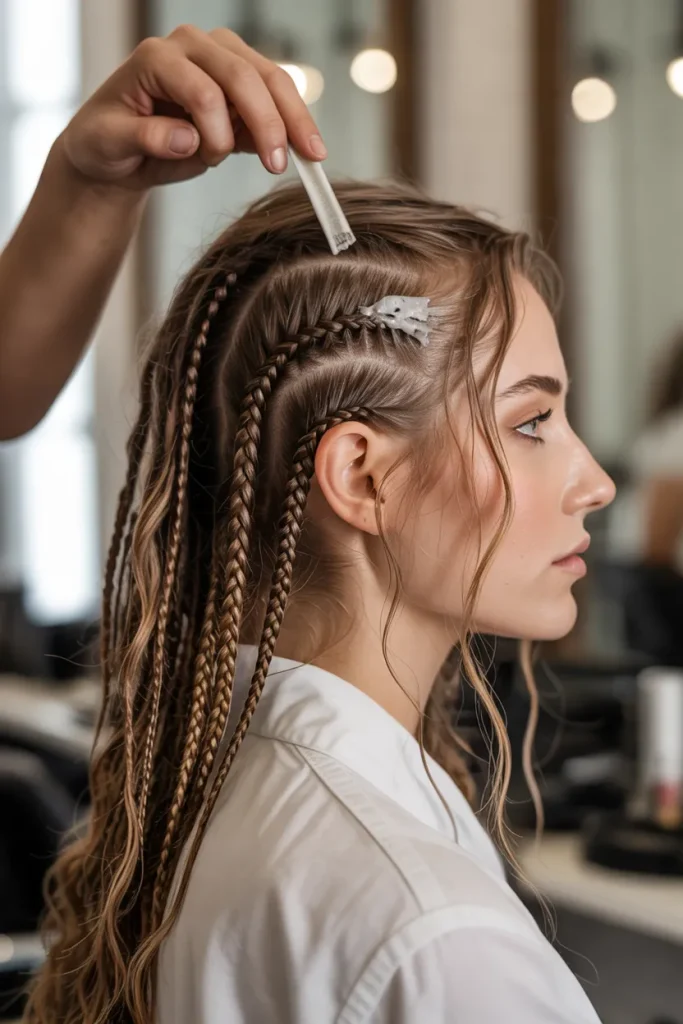
- Provides lightweight conditioning around dry braided sections.
- Helps manage flyaways without heavy product buildup.
- Offers a softer finish than thick styling gels.
- Works well for refreshing mature braid installations.
- Keeps the lengths looking polished and defined.
- Requires only a small amount of product.
Lightweight braid mousse can refresh an installation when dryness and stiff product buildup make the roots feel uncomfortable. Choose a formula suitable for braided hairstyles and apply a very small amount to your hands first. Gently smooth it over accessible sections without rubbing the scalp or pulling the braids. Mousse is particularly useful when the style has developed frizz and needs a softer, more polished appearance. However, it should not be treated as a solution for excessive installation tension. The best result comes from using minimal product and keeping the natural hair comfortable rather than trying to reshape tightly secured roots.
Avoid applying multiple layers because excessive product can create residue and make washing more difficult. Check the ingredients and follow the manufacturer’s directions, especially if your scalp is sensitive to fragranced products. If your braids are already painful, skip styling products and focus on getting the tension corrected. A stylist can determine whether particular sections need adjustment or removal. I prefer keeping braid maintenance lightweight because thick coatings can make an otherwise beautiful style feel unnecessarily heavy. A small amount of suitable mousse can improve the appearance of the installation while keeping the finished look soft, clean, and naturally defined.
Warm Water Root Rinse
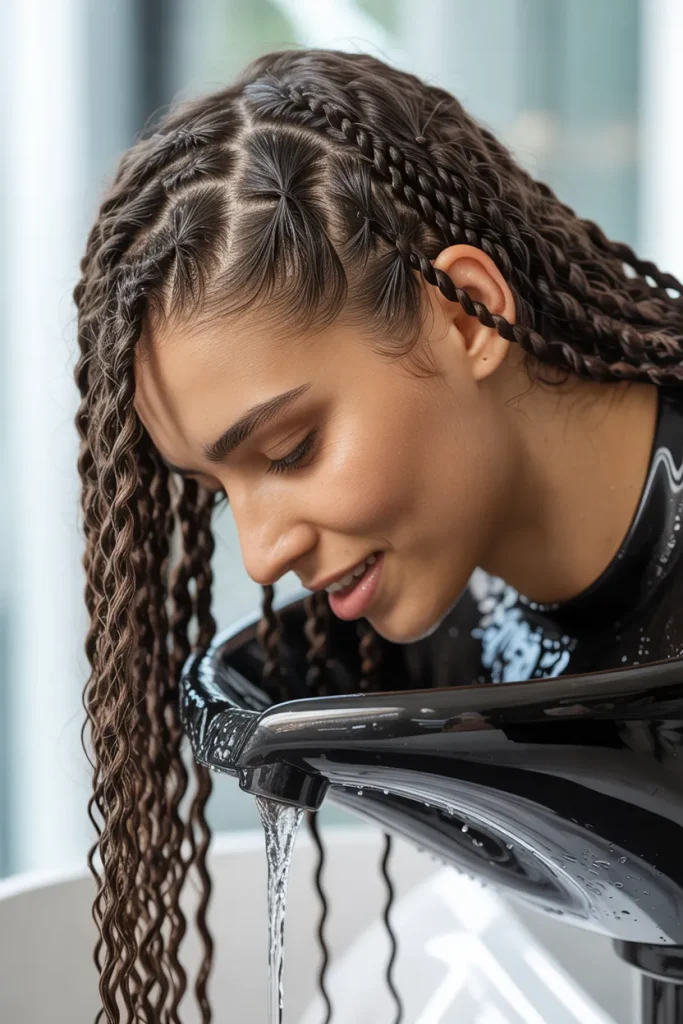
- Helps remove styling residue around accessible roots.
- Adds controlled moisture to dry natural hair.
- Can make stiff product-coated sections feel softer.
- Avoids aggressive rubbing during cleansing.
- Works best with lukewarm rather than hot water.
- Requires careful drying afterward.
A gentle lukewarm rinse can help when product residue and dryness make braided roots feel unusually stiff. Direct a small amount of comfortable-temperature water over the accessible scalp and root areas. Let it flow naturally instead of rubbing the braids together or massaging aggressively. This approach is particularly useful when excess styling gel has collected around the hairline. Avoid using hot water because excessive heat can irritate the scalp and affect some extension fibers. The aim is to refresh the surrounding hair and remove unwanted residue, not to force the braid bases apart or completely soak an installation unnecessarily.
After rinsing, gently squeeze excess water from the braid lengths using a clean microfiber towel. Allow the roots to dry thoroughly before tying the hair up or sleeping. Damp roots trapped beneath a scarf can take longer to dry and may develop an unpleasant smell. If you have an intricate installation, ask your braider whether a rinse is appropriate for its construction. Water may soften some styling products, but it will not release a braid secured too tightly. When the roots continue to hurt, arrange a professional adjustment rather than repeating the rinse or attempting to stretch the hair yourself.
Satin Scarf Relaxation
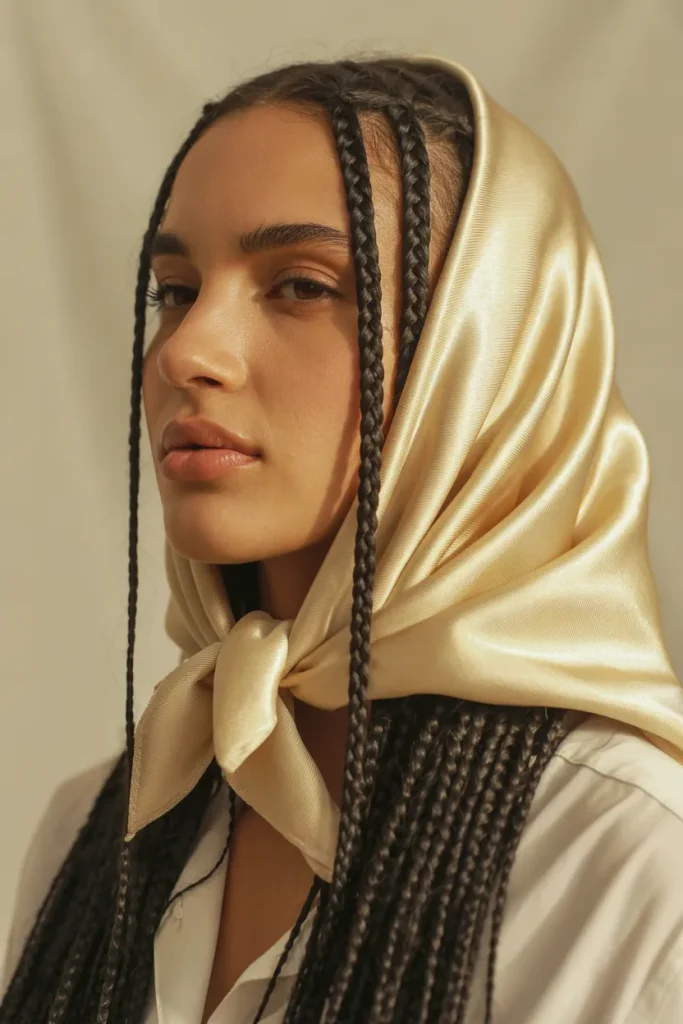
- Reduces friction from rough pillowcases and fabrics.
- Helps protect the hairline during everyday activities.
- Keeps loose braid lengths organized.
- Creates a polished protective-style appearance.
- Works well as part of a nighttime routine.
- Should never be tied tightly around sensitive roots.
A satin scarf can protect freshly braided hair from unnecessary friction while keeping the style looking neat. Choose a generously sized scarf and position it comfortably around your head without pulling the braids backward. The fabric should rest lightly against your hairline rather than compressing the roots. Satin is especially useful when sleeping because rough cotton fabrics can create friction against exposed hair and delicate edges. You can also wear a loose scarf during a relaxing evening at home. This simple accessory supports your existing hairstyle without requiring additional manipulation, heavy products, or complicated styling techniques.
Pay attention to how the scarf feels after tying it. If your scalp already feels tight, avoid knots that create additional pressure around the forehead or temples. A loose wrap is more useful than a perfectly secured style that makes discomfort worse. You can also choose a satin bonnet with enough room to accommodate your braid length. Neither accessory will physically loosen an installation, but both can reduce unnecessary friction while you arrange an adjustment. For a polished look, coordinate the scarf with your outfit and let the braid lengths remain naturally positioned. Comfort should always take priority over keeping every braid perfectly in place.
Loose Braid Positioning
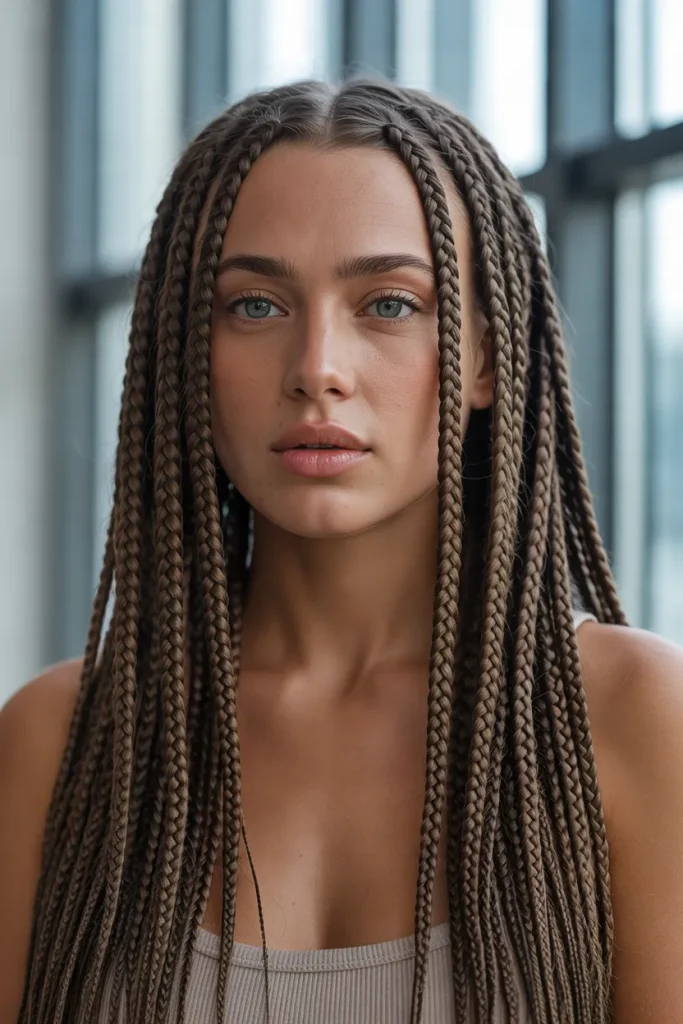
- Removes unnecessary downward pulling from braid lengths.
- Keeps heavy extensions from resting on one sensitive area.
- Creates a softer, effortless silhouette.
- Works with long box braids and knotless installations.
- Requires no additional styling products.
- Makes everyday movement more comfortable.
Long extensions can create additional weight, especially when every braid is gathered into the same tight position. Letting the lengths rest naturally over both shoulders can reduce unnecessary pulling caused by a high ponytail or tightly secured updo. Start by releasing any tight hair ties and allowing the braids to fall freely. Arrange them gently so the weight is distributed rather than concentrated behind one ear or along one side of your head. This creates a relaxed, effortless appearance while preserving the original braid pattern. It is particularly helpful when long installations feel heavy during ordinary activities.
For a more polished finish, separate the lengths loosely with your hands and allow a natural center or side distribution. Avoid repeatedly flipping heavy braids from one shoulder to another because sudden movement can create additional pulling. If you want to keep them away from your face, use a loose arrangement that does not tighten the roots. This adjustment is about managing extension weight, not changing the actual installation. If the braid bases remain painful even after releasing restrictive hairstyles, consult your stylist. Excessive tension needs proper correction, and simply repositioning long extensions cannot solve a tightly braided scalp.
Low-Tension Side Sweep
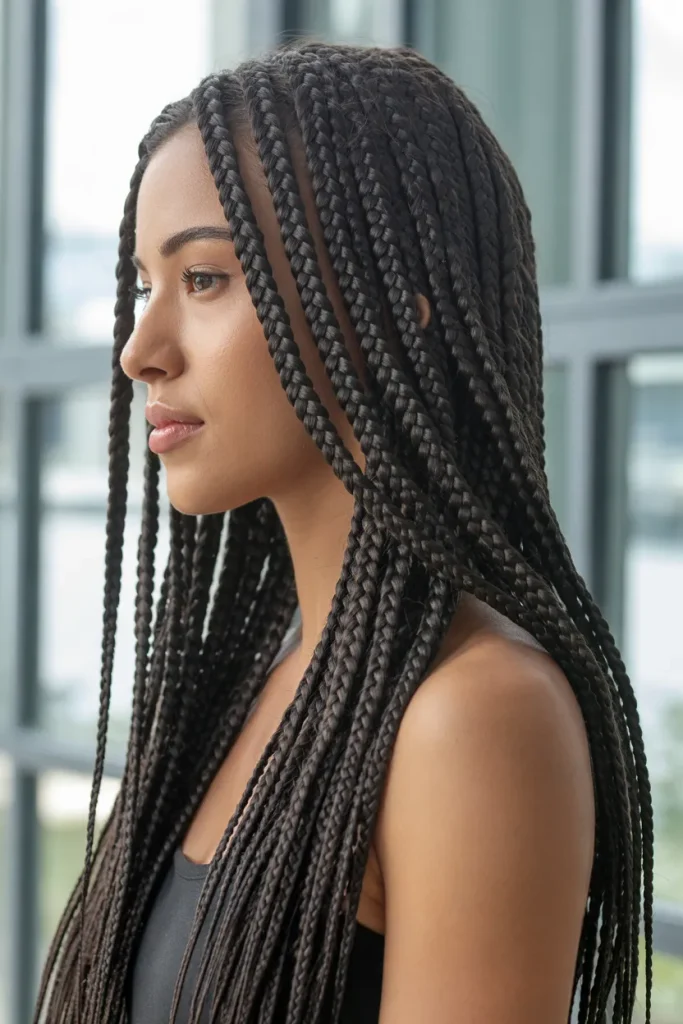
- Creates an elegant asymmetrical silhouette.
- Keeps heavy braid lengths away from the back.
- Adds movement without requiring tight accessories.
- Looks beautiful with medium and long installations.
- Works for casual outfits and evening styling.
- Should remain loose around the hairline.
A relaxed side sweep gives long braids an elegant editorial finish without requiring a tight ponytail or complicated updo. Instead of pulling the roots toward one side, gently guide the lengths across your shoulder and let them fall naturally. This creates a beautiful asymmetrical silhouette while allowing the braid bases to remain in their original positions. The look works especially well with knotless braids, waist-length extensions, and textured bohemian installations. It also makes everyday styling easier when you want your braids away from your face without creating additional pressure around the temples or forehead.
For a softer appearance, allow a few naturally loose strands to frame your face and avoid forcing every braid into a perfectly arranged position. You can change the shoulder placement throughout the day without tying the roots or adding heavy accessories. If the lengths feel particularly heavy, divide them between both shoulders instead. A side sweep is a styling adjustment rather than a treatment for tight roots, so do not mistake a prettier silhouette for a corrected installation. If discomfort remains, contact your braider. Keeping the original braid placement comfortable is more important than achieving an elaborate finished look.
Soft Center-Part Finish
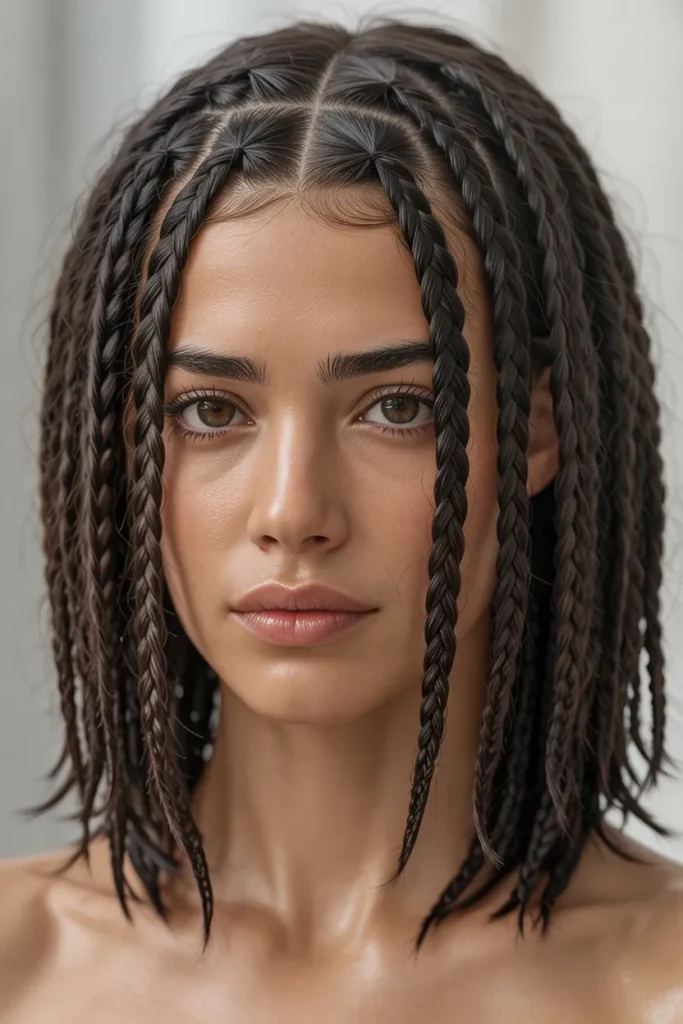
- Creates a balanced, symmetrical hairstyle.
- Highlights facial features without tight accessories.
- Keeps the braid lengths naturally distributed.
- Works beautifully with medium-length installations.
- Gives a minimal-luxe salon appearance.
- Avoids forcing an uncomfortable parting direction.
A soft center-part arrangement creates a clean, balanced appearance while allowing the braid lengths to fall naturally on either side. This style works particularly well when your installation already follows a center-part pattern. Let the braids rest without pulling them toward the forehead or tightening the sections around the crown. The result feels modern, understated, and suitable for everyday outfits, workwear, or a more dressed-up occasion. Unlike elaborate braided updos, this finish does not require extra clips or elastic bands. Its beauty comes from the natural arrangement of the existing installation and the clean shape around your face.
If your braids were installed with a different parting pattern, do not force the roots into a new direction. Changing the position of tightly secured sections can increase pulling and make discomfort worse. Instead, keep the original part and arrange only the loose lengths around it. A stylist can help create a softer parting finish when the installation allows it. I particularly like this minimal approach for longer braids because it keeps the overall silhouette polished without unnecessary accessories. Remember that a neat center-part appearance should never come at the expense of comfortable roots or healthy-looking edges.
Loose Crown Arrangement
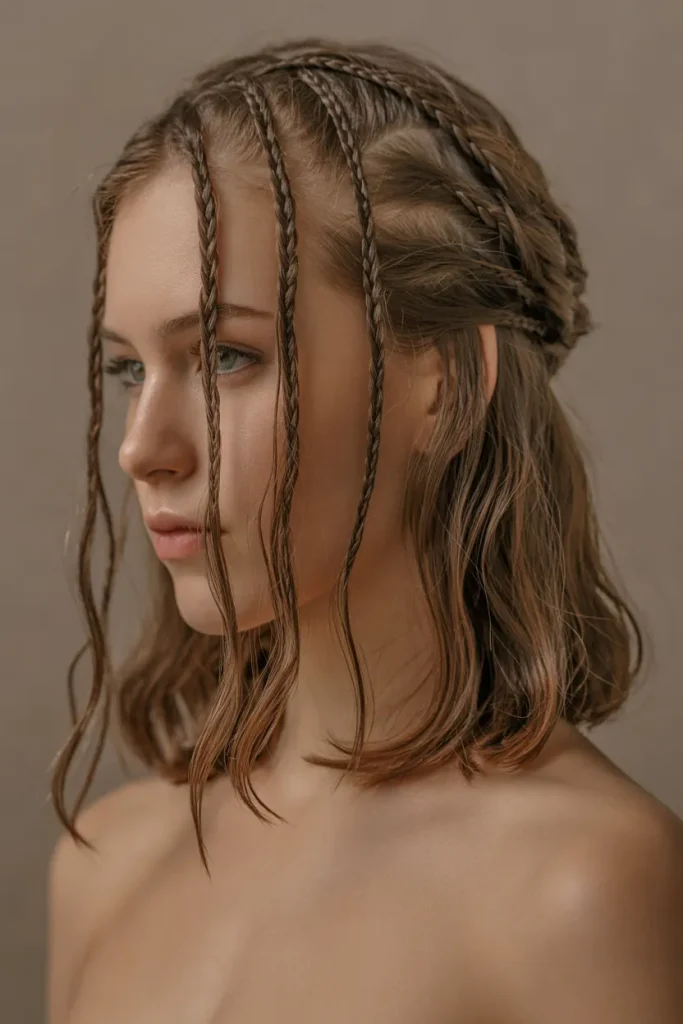
- Creates an elevated appearance without a tight bun.
- Keeps most braid lengths away from the face.
- Offers a stylish alternative to restrictive updos.
- Looks beautiful with layered extension lengths.
- Works for parties and relaxed formal occasions.
- Requires minimal handling of the braid bases.
A loose crown arrangement offers the visual appeal of an elegant updo without gathering every braid into a tight bun. Select a few accessible braids from the sides and guide their lengths gently toward the back of your head. Allow the remaining braids to fall naturally over your shoulders. The result creates a soft, elevated silhouette with plenty of movement. This arrangement works especially well with bohemian braids and installations featuring varied lengths. It is a beautiful choice for dinners, celebrations, and occasions when you want something more polished than wearing every braid down.
Keep the gathered sections loose and use a large, smooth accessory only when necessary. Avoid pulling braids upward from the roots or securing them with small elastics that concentrate pressure in one place. If the installation feels heavy, reduce the number of gathered braids and let more lengths rest over your shoulders. A stylist can demonstrate a comfortable arrangement that suits your braid placement and extension weight. The finished effect should look effortless rather than tightly sculpted. If moving the braids toward the crown causes pain, release them immediately and choose a relaxed arrangement that leaves the roots undisturbed.
Low Loose Ponytail
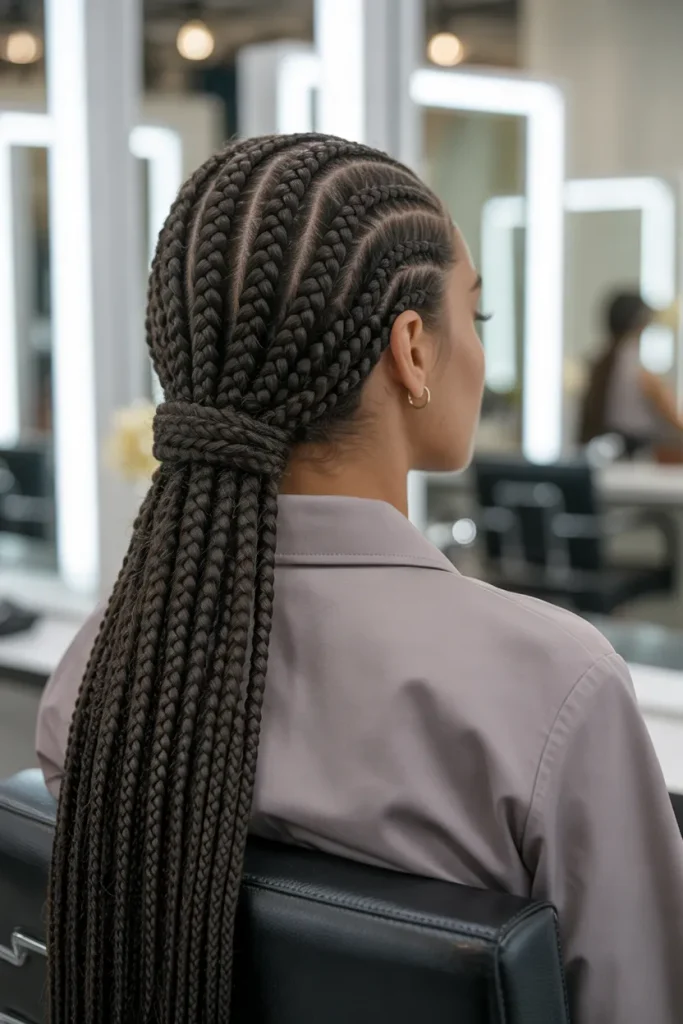
- Creates a practical everyday hairstyle.
- Keeps long braids organized behind the shoulders.
- Avoids the elevated pulling of high ponytails.
- Looks polished with minimal accessories.
- Works for office outfits and casual occasions.
- Requires a soft, nonrestrictive hair tie.
A low loose ponytail is a practical way to organize long braids while maintaining a relaxed appearance. Let the braid lengths fall naturally before gathering them gently near the nape of your neck. Use a soft fabric scrunchie or oversized hair tie that does not grip too tightly. Leave enough room for the braids to move comfortably, and avoid pulling the front sections backward. This simple hairstyle works beautifully for busy mornings, travel days, and casual outfits. It also keeps extension lengths organized without creating the dramatic upward tension associated with tightly secured high ponytails.
Choose an accessory with a smooth surface to prevent unnecessary friction against the braids. If your extensions are particularly long or heavy, divide the lengths evenly before gathering them so the ponytail does not pull unevenly. You can loosen the arrangement throughout the day whenever it begins feeling restrictive. Avoid sleeping with a secured ponytail because prolonged pressure can make the roots uncomfortable. A low ponytail can improve styling convenience, but it cannot repair excessive tension from installation. If the scalp still hurts when the hair is completely released, contact your braider about adjusting or removing the affected sections.
Relaxed Half-Up Style
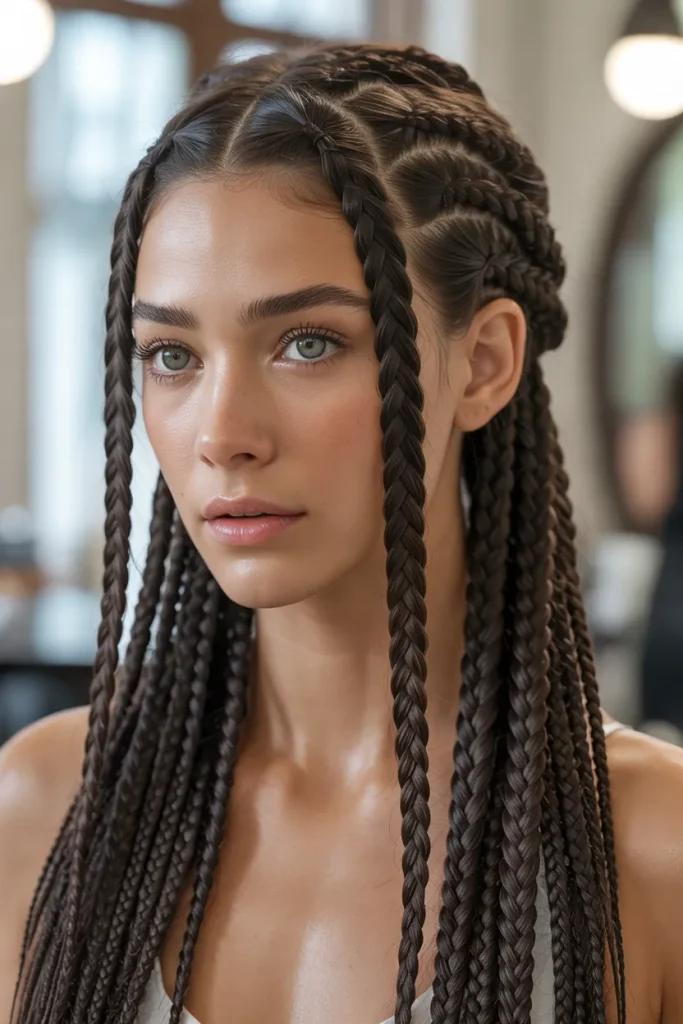
- Keeps the face open while preserving flowing lengths.
- Creates an attractive balance of volume and structure.
- Works beautifully with goddess and knotless braids.
- Offers an adaptable daytime-to-evening hairstyle.
- Requires fewer gathered braids than a full updo.
- Looks elegant with a simple satin accessory.
A relaxed half-up hairstyle gives braided hair an attractive balance between an open face and flowing lengths. Instead of gathering the entire installation, select only a small number of braids from the upper sides and bring their lengths together loosely. Let the remaining braids fall naturally down your back and shoulders. This creates a soft, feminine silhouette without requiring a tightly secured bun. It looks particularly beautiful with goddess braids because the loose texture adds movement around the face. The style transitions easily from everyday outfits to dinner plans and special occasions.
Choose a large, smooth scrunchie or a gentle claw clip that can hold the selected lengths without squeezing the roots. Position the accessory around the braid lengths rather than attaching it close to the scalp. If your braids feel heavy, gather fewer sections or skip the accessory altogether. The finished style should move freely when you turn your head. Avoid forcing the front braids into an unfamiliar direction simply to achieve symmetry. This is a flexible styling option, not a method of releasing tight roots. If even a small adjustment causes discomfort, leave the installation loose and seek professional help.
Professional Braid Adjustment
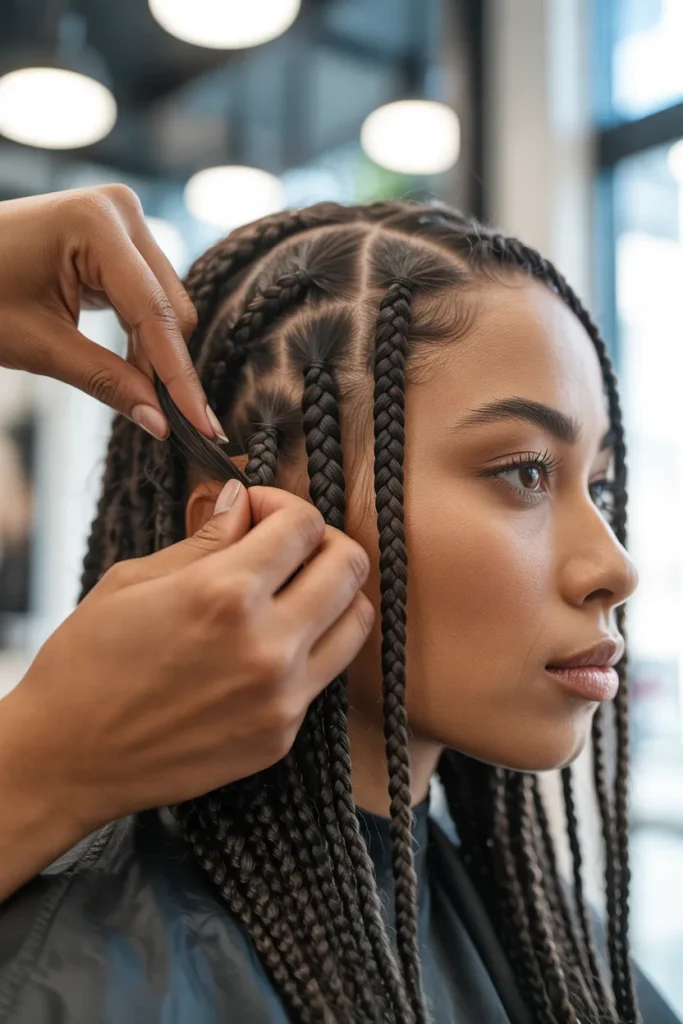
- Addresses excessive tension at its actual source.
- Allows individual problematic sections to be assessed.
- Helps protect natural hair from unnecessary pulling.
- Preserves comfortable sections whenever possible.
- Offers a personalized solution for different braid patterns.
- Particularly important when discomfort persists after installation.
Sometimes the safest way to address tight braids is to return to the stylist who installed them. A professional adjustment allows individual sections to be examined rather than treating the entire hairstyle unnecessarily. Explain exactly where you feel pressure, whether the discomfort affects your temples, crown, or nape, and when it started. Your braider can determine whether selected sections need loosening or complete removal. This approach is particularly important when learning how to loosen tight braids without damaging natural hair. Avoid attempting complicated adjustments yourself, especially when extensions are tightly secured close to the scalp.
A skilled stylist should prioritize scalp comfort instead of preserving an installation that is causing pain. Depending on the construction, the solution may involve carefully undoing selected braids and reinstalling them more loosely, or removing the uncomfortable sections altogether. If you experience persistent pain, bumps, swelling, or headaches, do not wait for the style to settle. Remove the source of excessive tension with appropriate professional assistance. For future appointments, communicate your preferred root tension before installation begins. Beautiful braids should feel secure without pulling painfully, and a comfortable foundation makes the hairstyle much easier to maintain and enjoy.
Conclusion
Your braids should make you feel beautiful, comfortable, and confident, not leave you constantly thinking about scalp discomfort. With the right approach, you can explore how to loosen tight braids while protecting your natural hair and maintaining a polished appearance. Gentle moisture, careful scalp care, professional adjustments, and relaxed hairstyles can all make a difference in your braided hair routine.
Remember that persistent pain is never something you should ignore. Give your scalp the attention it deserves, and choose comfort over a tightly secured style. Save this guide to your Pinterest boards for your next braiding appointment, try the styling ideas that suit your look, and share it with someone who needs a little braid-care inspiration. Beautiful hair starts with healthy habits!